How to build a solopreneur CRM in 5 steps
A customer relationship management system solves a lot of problems, especially if you're starting a business on your own. Here's how to create one.
Table of Contents
If you're a one-person operation, the time may come when you need to upgrade the way you run things. It needs to be more systematic, polished... and, to be frank, easier. That's where a customer relationship management (CRM) system comes in, to store and connect your customer info in one centralised location. You can build your own, to suit your exact needs, without needing to write a single line of code – here's how.
Focusing time on the things that matter – and removing unnecessary admin – should be a priority for anyone running a business. A customer relationship management (CRM) system can have a huge impact. You won't need to do manual data entry or trawl through an overstuffed inbox to get your work done. You’ll be able to keep track of prospects, coordinate marketing campaigns, streamline your sales process, and improve your customer support.
There are approximately a bajillion different CRM systems. The problem is that basically all of them are designed around the business processes of large companies, not freelancers or small businesses. And you don’t have the spare money or time to spend your days wrangling with software that’s not right for you.
Well, we're about to show you how to build your own custom CRM in a few steps. And you don’t need to hire a team of software engineers, learn about APIs, or write a single line of code.
These are the three different types of CRM software:
- Operational: helps to organise, streamline, and automate business workflows (like sending out marketing materials or following up with sales leads)
- Analytical: uses data to improve operations (for example, by forecasting sales growth so teams can track their progress)
- Collaborative: shares customer information across teams in an organisation. This is most useful in large orgs: e.g. if the customer service team needs to pass on a customer query to the technical team to help solve a technical problem.
Since you’re building a CRM solution from scratch for the first time, here we’re focusing on making an operational CRM.
1. Set up a database
The database is the heart of your CRM. It allows all the different parts of your CRM platform to add and pull customer data from the same source of truth.
We recommend setting up an Airtable account — the basic plan is free, and paid plans start at $10 per month. If you prefer, use a tool with similar functionality like Google Sheets or Excel. Airtable is an all-in-one spreadsheet (which analyses data) and database (which stores data). Its user interface is fairly simple, plus it connects well to other no-code tools that you’ll use for your CRM system.
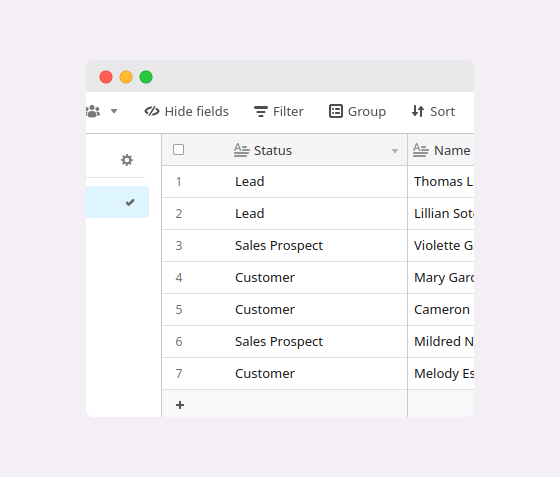
If you’re working in Airtable, it’ll automatically create a ‘workspace’ which is where you’ll keep your 'bases' (databases). Either import your existing customer database or create a new one. Make sure you include customer information (name, email, phone number, etc.) and their status — for example:
- Lead: someone who registered interest in your business
- Sales prospect: someone who’s passed through your sales pipeline and is ready to buy from you
- Customer: someone you’ve successfully sold to
2. Create a form to capture leads
A digital form is how people who are interested in your business actually enter your CRM database. Once a lead’s information is in your database, you’ll be able to build a relationship with them and hopefully turn them into customers.
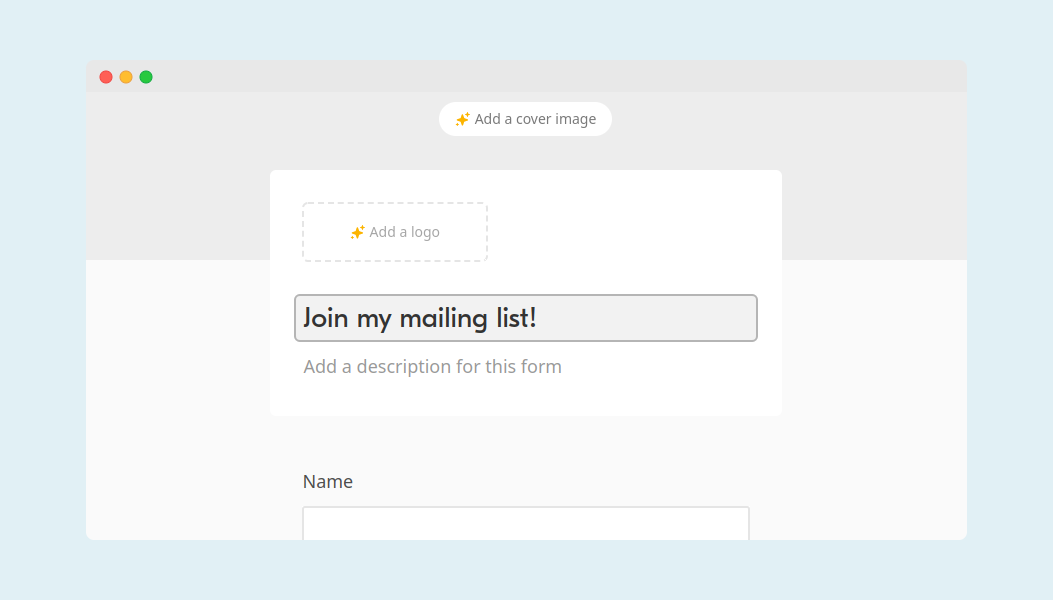
In the Airtable base with your customer info, select ‘form +’. Airtable will create a customisable form. When someone fills it out, it’ll add their responses to your base. If you’re working with Google sheets, follow the steps here to create a form.
Customise the form, so it fits with your brand personality. Add your logo and a cover image, and edit the title — for instance, “join my mailing list”, “find out more”, or “become an insider”.
We’re classing everyone who fills out this form as a lead, so we want Airtable to add them to the base with the ‘lead’ status.
Select ‘share form’ and copy the URL that pops up.
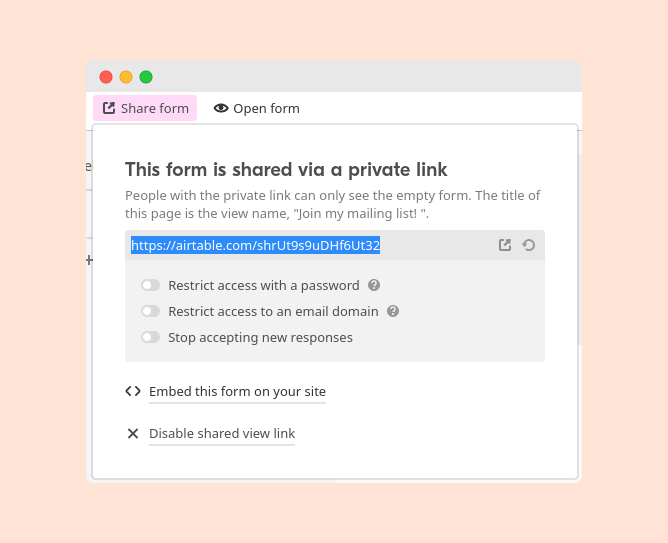
At the end of the URL, add:
?refill_Status=Lead&hide_Status=true
This prefills the status as ‘lead’ and hides the status section, so it doesn’t appear on the form.
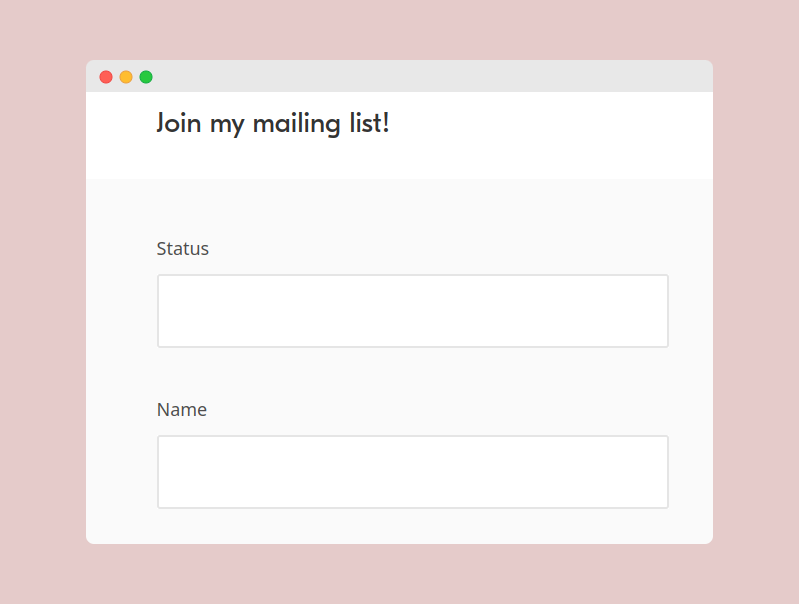
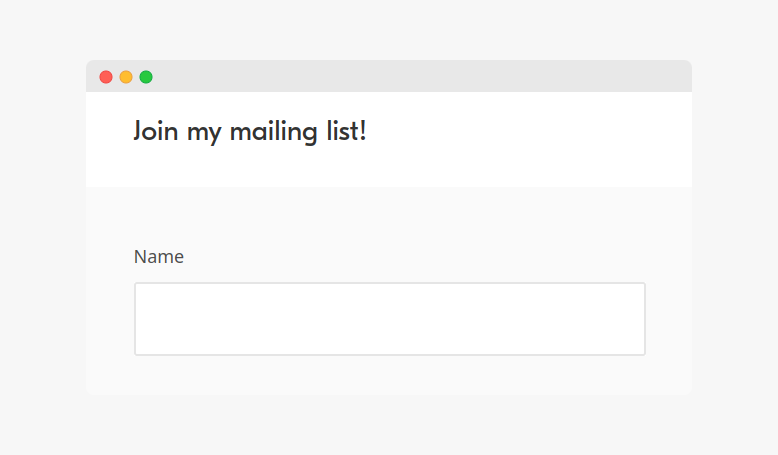
Paste the edited URL into your browser to check how it looks. Once you’re happy with the form, add the URL to your website or social media profile.
3. Nurture leads with content
Once a potential customer has entered your database, targeted content marketing will allow you to engage with them until they feel ready to make a purchase. It’s your chance to share information that persuades your target audience that your service or product is right for them.
We’re going to use email marketing with Mailchimp as an example here, but customise this step based on your marketing strategy. For example, you might use Klaviyo if you prefer SMS marketing.
First, set up a Mailchimp account. Export your customer database to a CSV file and then import it into Mailchimp. To keep your contact list up-to-date, you’d have to export and import your customer information regularly. Avoid doing this by setting up an automation, so new Airtable entries get added to Mailchimp in real time.
Next, plot out an email campaign — a set of emails that gradually persuade someone to take a specific action, like booking a sales call. In Mailchimp, select ‘create’, then ‘design email ’, and choose an email template. In the ‘to’ section, select ‘edit recipients’ and choose the ‘lead’ tag so the emails will only go to leads, not all your contacts.
Finally, plan out when you want to send the emails — this will depend on the length of your customer lifecycle. Put reminders in your calendar and send the emails manually. Or, set the sequence to run automatically when someone signs up (this feature isn’t included in the free plan).
4. Book sales calls to convert leads into customers
Booking sales calls gives qualified leads the chance to connect with the sales team (that’s you!) one-on-one. It’s time to convince people who are interested in your business that you’re worth their money.
Start by setting up a Calendly account (or use a similar scheduling application). Connect Calendly to your calendar — this will allow the app to add events and check for scheduling conflicts. Customise your call availability, URL, and timezone.
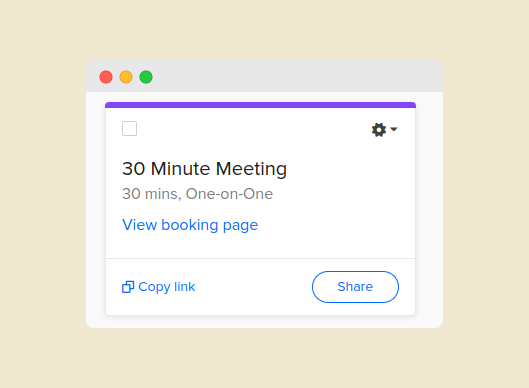
Calendly automatically creates a “book a 30 min 1:1” option, so use this or change the call length. Select phone call, Google Meet, or Zoom as the event location and Calendly will add your phone number or meeting room details to the event.
To add the booking button to your emails, select ‘copy link’ in Calendly.
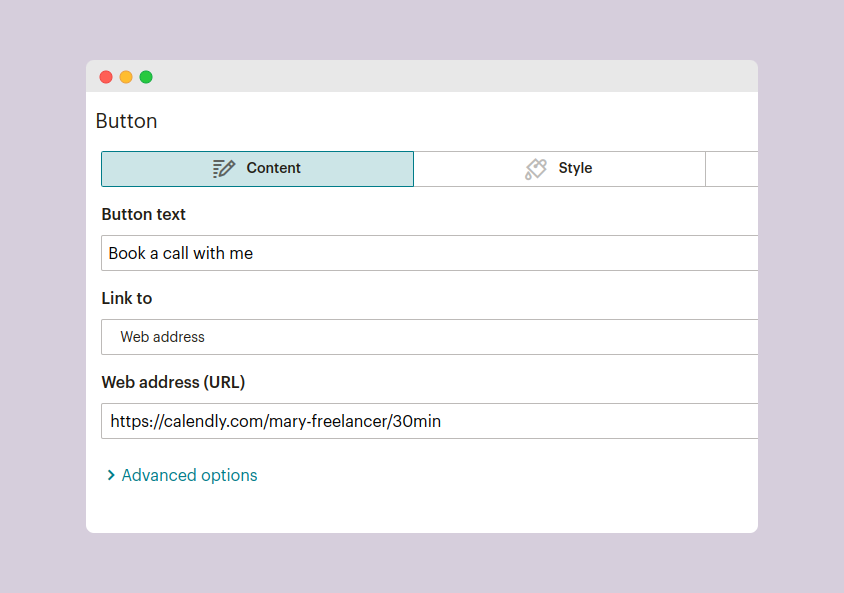
Then, in Mailchimp, drag a Button ‘block’ to your email and add the Calendly URL.
Use your CRM database to get an overview of your leads and sales prospects. When someone books a call, update that person’s status from ‘lead’ to ‘sales prospect’ — or automate your lead management.
5. Create a support base to keep your customers happy
Once you have a set of customers, you want to keep them happy by solving their problems quickly. Your CRM helps you maintain good client relationships because it stops you from losing customer queries in a messy inbox.
On your website, add a help page. (No website yet? Check out our favourite no-code website builders.)
Write a set of frequently asked questions with answers. An FAQ section gives customers any info they might need to solve an issue themselves — which will hopefully reduce the number of help queries you get.
A contact form is better than simply sharing your email or phone number. It encourages people to fill out all the details you’ll need to solve their problem, which saves you a lot of back-and-forth.
Set up an Airtable base for customer queries with customer information (name, contact details), the details of the query, and status (for example: unresolved, in progress, resolved). Create another Airtable form (just like the lead capture form).
You want the queries to be entered into the form with the status “unresolved”, so copy the URL and add this to the end:
?prefill_Status=Unresolved&hide_Status=true
Add the edited form link to your help page.
Check the Airtable base regularly to follow up with customers. Alternatively, follow our automation guide to trigger an auto-response and get a notification when someone sends a help request.
{{usecase-callout}}


CRM
Manage all your customer interactions in one, centralised location.
Similar Tutorials
Want to read
more articles
like these?
Become a NoCode Member and get access to our community, discounts and - of course - our latest articles delivered straight to your inbox twice a month!


